Tag: easiest

  • Homemade CBD Tincture (From Isolate) – Easy ‘How To’ Guide!

    I love CBD tinctures, they help me get through my days. However, they can get a bit expensive, which is why I started buying isolates and making my own tinctures at home instead. Here’s how I do it!

    But first, let me do a little math. My favorite, most effective CBD tincture was This One from Mellow Moose. With 3000mg per bottle, and 100mg per dose, this tincture gave me 30 days of doses for $50, or $1.66 per day.

    Buying Organic CBD Isolate from Mellow Moose, I get 20 grams (20,000mg!) for $60 per jar. At my dose of 100mg per day, this isolate gives me 200 days of doses for just $10 more, or $0.30 per day. This can save a lot of money, almost $500 a year!

    So, let’s get into it.

    Note: This process is the same whether you’re using CBD, CBG, or CBN isolate. No changes necessary!

    The Only Ingredients I use are:
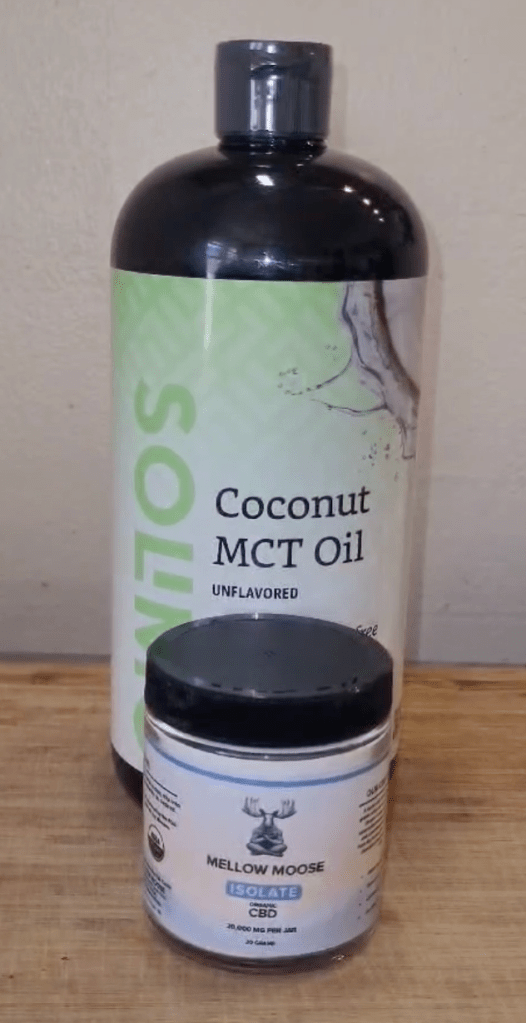
    And I’ll be using:

    • A Stove
    • A Mason Jar
    • A Pot of Water
    • A Digital Scale (0.00g)
    • A Digital Thermometer – Like This One (Optional, but strongly encouraged.)

    Step 1:

    Mix 3 grams of CBD isolate (3000mg)and 30ml of MCT Oil (about 2 tablespoons)in a mason jar, and shake it well for ~30 seconds.

    This ratio of 1000mg isolate : 10ml oil gives us 100mg per 1ml dose, but you can customize this to your preferred dose or amount.

    Chunks of isolate will still be visible, and that’s okay. They’ll melt into the oil in the next steps.

    Step 2:

    Fill a pot with enough water to cover the isolate and oil mix, but not enough to submerge the jar.

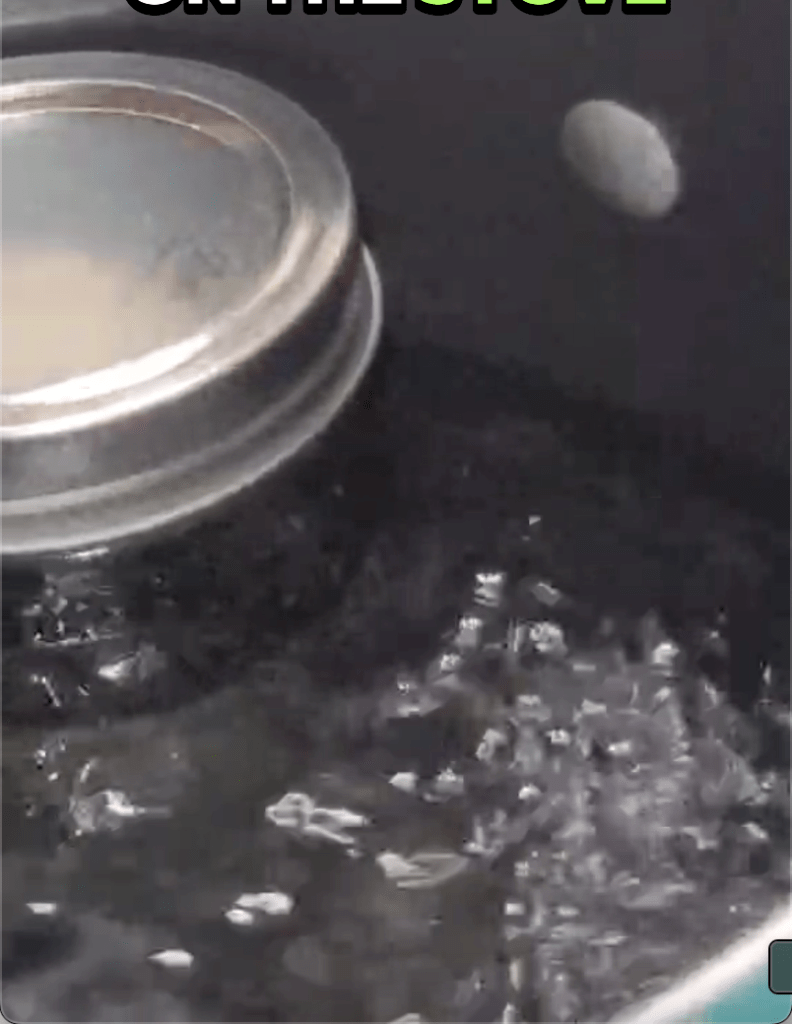
    Then, put the the pot on the stove over low heat. Make sure the jar is in the pot of water before heat is applied, as putting a colder jar into warmer water can cause the jar to shatter.

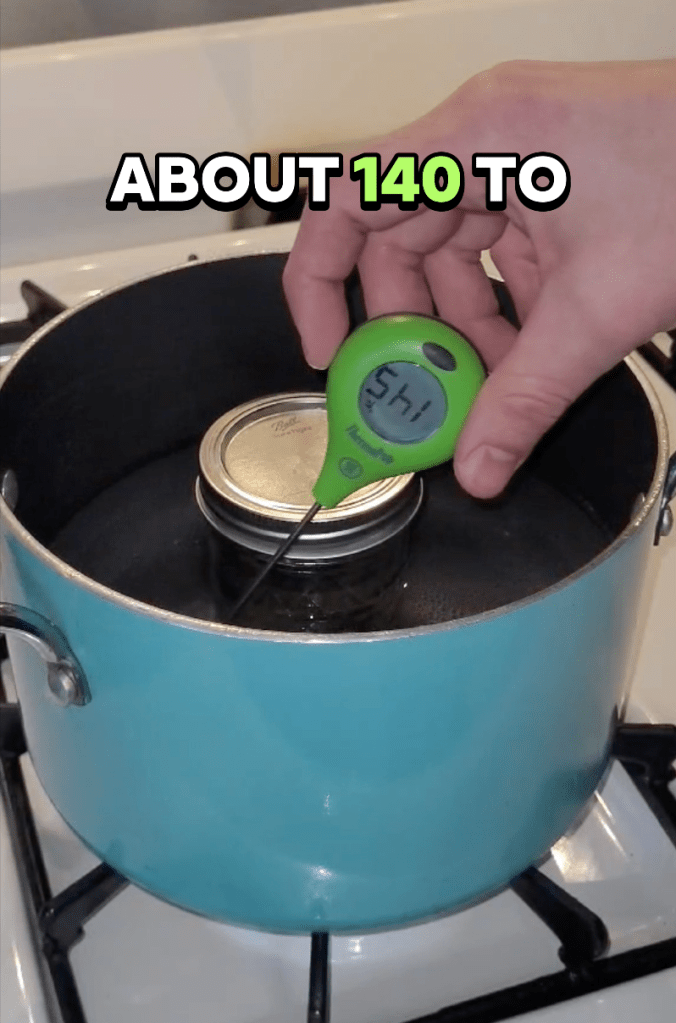
    Let the water reach 140-150°F, then let the jar sit in that temp for about 20 minutes. A digital thermometer is very helpful for this stage, but if you don’t have one, 140-150°F should be just under simmering.

    Step 3:

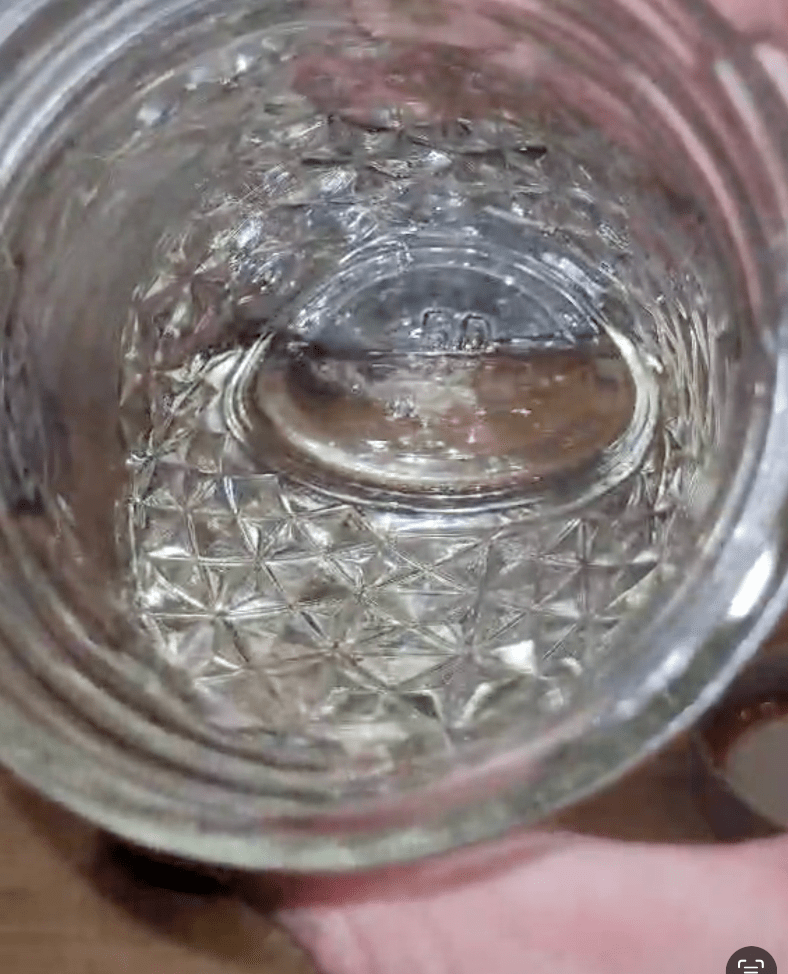
    After 20 minutes, remove the jar from the water and shake the jar for another 30 seconds. The isolate should be fully melted and combined into the MCT oil now.

    Let the tincture sit for around 20 minutes to cool down.

    Step 4: (optional)

    Once cooled, I use a funnel to transfer the tincture into an old Mellow Moose tincture bottle I had lying around. It’s perfectly built for it, with a dropper cap for dosing, and dark glass to stop sunlight from harming the product.

    If you don’t have these bottles laying around, you can just leave it in the jar you made it in, and dose directly from it. A 1ml dropper would still be ideal for dosing, but if you don’t have one, you can eyeball it using a teaspoon, knowing that 5ml = 1 teaspoon.

    I hope this helps someone save some money on this medicine! I love this stuff, and to be able to make it so much more affordable is a life-saver. Take care!

    Here’s the short-form video I made for this guide.

    Leave a comment

  • The Easiest, Simplest Shroom Growing Starter Kit

    Disclaimer: This page is not meant to be a full-on guide to growing anything. This page is meant to simplify the process, eliminating as much of the guess work and research for your initial setup as I can. This guide relies on the most affordable mycology supply website I’ve found, Midwest Grow Kits.

    This guide is written for people who are following this detailed shroom-growing guide found on the subreddit, r/unclebens, except we’ll just use premade grain jars instead of Uncle Bens rice bags, to make it even simpler. The r/unclebens guide is the best guide I’ve come across, so it is still a perfect reference.

    I created this page because when I first read through that guide, it was SO incredibly detailed, that the whole process seemed more complicated than it actually is.

    Here is a simplified list of Everything you will need for the process, along with direct links to the products themselves, organized by source.

    Isolated Spore Syringe (of your choosing) from InoculateTheWorld. – The start of it all, in an easy-to-inject syringe. For best results, use Liquid Culture syringes. This specific website refers to Liquid Culture as Isolated Spore, so you’re all good!

    70% Isopropyl Alcohol from Amazon – Spray on and wipe everything involved, including your gloves. Cleanliness here is possibly the most important factor in making it to harvest.

    Disposable Gloves from Amazon – Again, cleanliness is important. You will want to wear these for every step.

    3x 24oz Grain Jars from Midwest Grow Kits – Inject each jar with 2-3cc of the spore syringe. These jars have higher chances of success than rice bags do, and less variables such as moisture content. Flame sterilize your needle with a lighter before each injection for best chances of successful colonization.

    Premade Substrate from Midwest Grow Kits – Once your grain jars are fully colonized and white, mix one jar with an equal amount of this dirt-like substance in a 6qt shoebox container.

    6qt ‘Shoebox’ Containers from Amazon – (It’d be better to buy 3 at a cheap store in real life. You can get 3 for $3. This link is just the best deal amazon had.)the perfect size for your mushroom-growing environment, to ensure you can keep the humidity levels just right. Sounds complicated, but comes easily with experience. (and following the guide on r/unclebens)

    (Alternative container) 54qt Monotub from MidwestGrowKits – Some choose to make one big container rather than 3. I recommend 3 for beginners, but its personal preference ultimately.

    Fine Water Mister from Amazon – Helpful for when your substrate dries out a bit. Water drops hitting the mushrooms can harm your process, finer water droplets are safer.

    Mushroom Dehydrator from Midwest Grow Kits – Every day, a new grower thinks they can dry their harvested shrooms in an oven, or an air-fryer. Sometimes this works, sometimes it burns their entire stash, leaving them with nothing to show for all their time, money and effort! Better safe than sorry, the way I see it. (Side note, I was using a dehydrator from amazon, but found this one to be much better due to it being custom built for this purpose.)

    Dessicant Packets from Amazon – Throw your harvest shrooms in a jar and put a couple of these in there with them, to ensure they stay dry for years to come.

    Digital Scale from Amazon – For weighing out your doses once you have dried your harvest. Very important to your experience, mushrooms can vary greatly in weight, leaving you with wildly different experiences, if you dose without a scale!

    And there you have it! At the time of writing this, and where I am located currently, the grand total of this guide is $138. That’s a pretty solid price to have ounces, even pounds of beautiful, freshly harvested product. Enjoy 🙂

    Feel free to reach out in the comments or contact our email with any questions, I’m always happy to help!

    *Note: These All-in-One (AIO) Bags would be an even easier method than what I listed above, essentially combining the substrate and grain into one big bag. You would inject this bag and just wait, basically. I have seen little success with this method, others have had great harvests. If you’ve got the money to spare, can’t hurt to try, right?

    *Another Note: Cheaper methods do exist, you could make your own substrate and grain spawn at home for even cheaper, it just requires more learning and some additional equipment. If you’re a beginner who feels intimidated by the process, just stick to the premade basics!