710 Labs is a real California brand that consistently puts out some of the highest quality flower on the market.
So, when I saw it on ClubHouse Drops, I was a little bit skeptical. But, I was going to be in California soon, so I decided to place my first order with CHD, to compare it to the California equivelant.
In California, I went to a dispensary and grabbed 710’s ‘Donny Burger’ for $60/8th. The flower was fantastic, very terpy, resinous, dank and potent. It was everything I want in a flower, even the ash left a sticky streak on my hands.
When I got back home, I went to CHD and grabbed 710’s ‘Cake Crasher’ for $50/8th. The packaging was exactly the same, and even showed that this one was a month fresher. The flower itself 100% lived up to the standards I expected, and made me a full-on Clubhouse believer, it erased every doubt in my mind.
This flower was just as terpy, resinous, dank and potent, with the same ash and everything. With enough experience, it’s not too hard to tell when bud is from the same grower, and this one passed the test.
I’ve placed several, larger orders since then, and been just as pleased every time. If you’re looking for the true top tier, craft experience, and you’re willing to pay for it, Clubhouse is 100% the way to go.
Disclaimer: This page is not meant to be a full-on guide to growing anything. This page is meant to simplify the process, eliminating as much of the guess work and research for your initial setup as I can. This guide relies on the most affordable mycology supply website I’ve found, Midwest Grow Kits.
This guide is written for people who are following this detailed shroom-growing guide found on the subreddit, r/unclebens, except we’ll just use premade grain jars instead of Uncle Bens rice bags, to make it even simpler. The r/unclebens guide is the best guide I’ve come across, so it is still a perfect reference.
I created this page because when I first read through that guide, it was SO incredibly detailed, that the whole process seemed more complicated than it actually is.
Here is a simplified list of Everything you will need for the process, along with direct links to the products themselves, organized by source.
70% Isopropyl Alcohol from Amazon – Spray on and wipe everything involved, including your gloves. Cleanliness here is possibly the most important factor in making it to harvest.
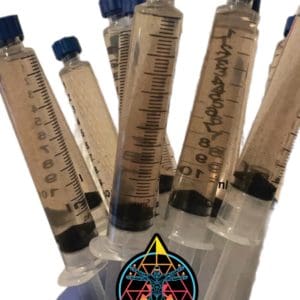
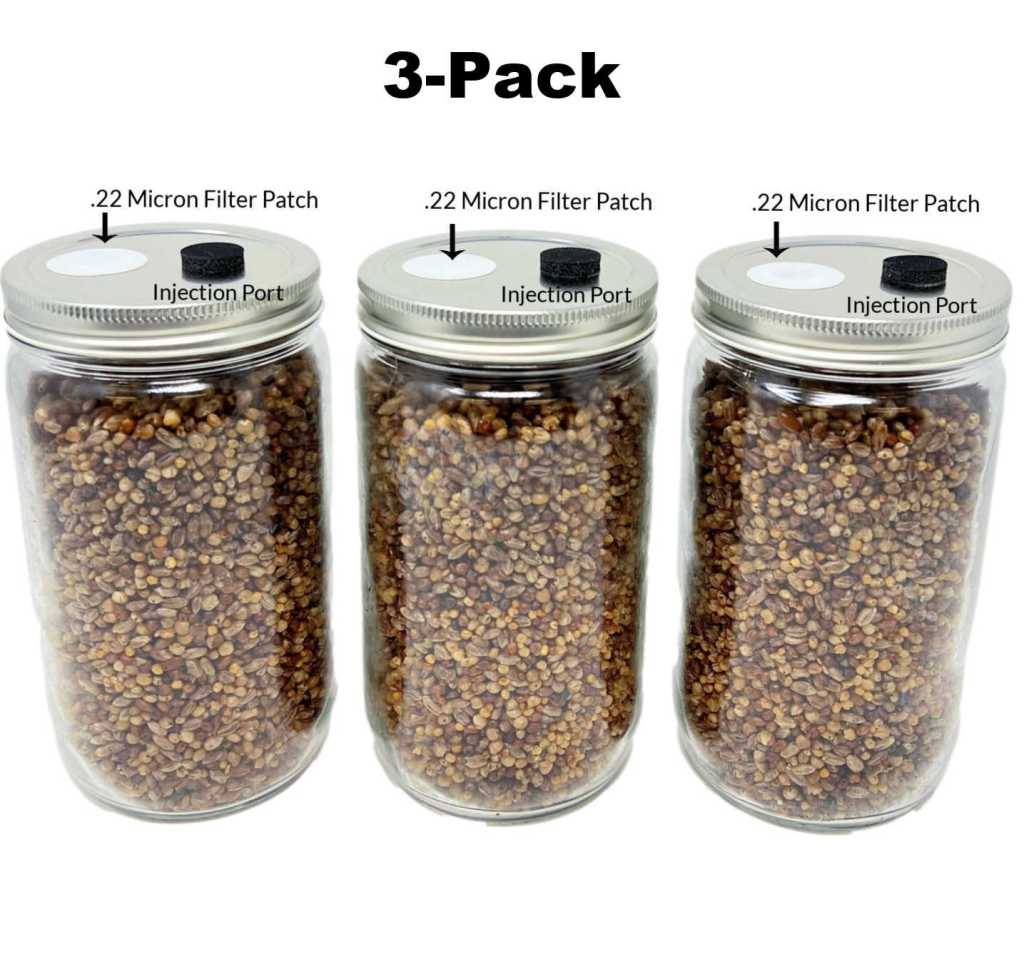
3x 24oz Grain Jars from Midwest Grow Kits – Inject each jar with 2-3cc of the spore syringe. These jars have higher chances of success than rice bags do, and less variables such as moisture content. Flame sterilize your needle with a lighter before each injection for best chances of successful colonization.
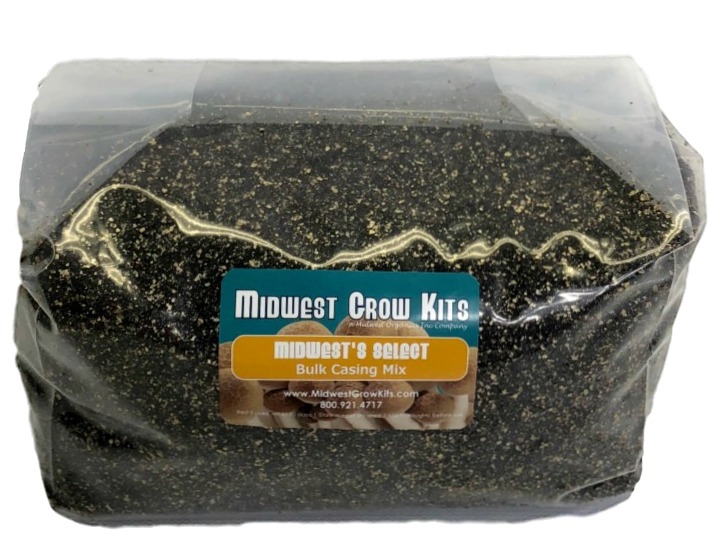
Premade Substrate from Midwest Grow Kits – Once your grain jars are fully colonized and white, mix one jar with an equal amount of this dirt-like substance in a 6qt shoebox container.
6qt ‘Shoebox’ Containers from Amazon – (It’d be better to buy 3 at a cheap store in real life. You can get 3 for $3. This link is just the best deal amazon had.)the perfect size for your mushroom-growing environment, to ensure you can keep the humidity levels just right. Sounds complicated, but comes easily with experience. (and following the guide on r/unclebens)
Fine Water Mister from Amazon – Helpful for when your substrate dries out a bit. Water drops hitting the mushrooms can harm your process, finer water droplets are safer.
Mushroom Dehydrator from Midwest Grow Kits – Every day, a new grower thinks they can dry their harvested shrooms in an oven, or an air-fryer. Sometimes this works, sometimes it burns their entire stash, leaving them with nothing to show for all their time, money and effort! Better safe than sorry, the way I see it. (Side note, I was using a dehydrator from amazon, but found this one to be much better due to it being custom built for this purpose.)
Dessicant Packets from Amazon – Throw your harvest shrooms in a jar and put a couple of these in there with them, to ensure they stay dry for years to come.
Digital Scale from Amazon – For weighing out your doses once you have dried your harvest. Very important to your experience, mushrooms can vary greatly in weight, leaving you with wildly different experiences, if you dose without a scale!
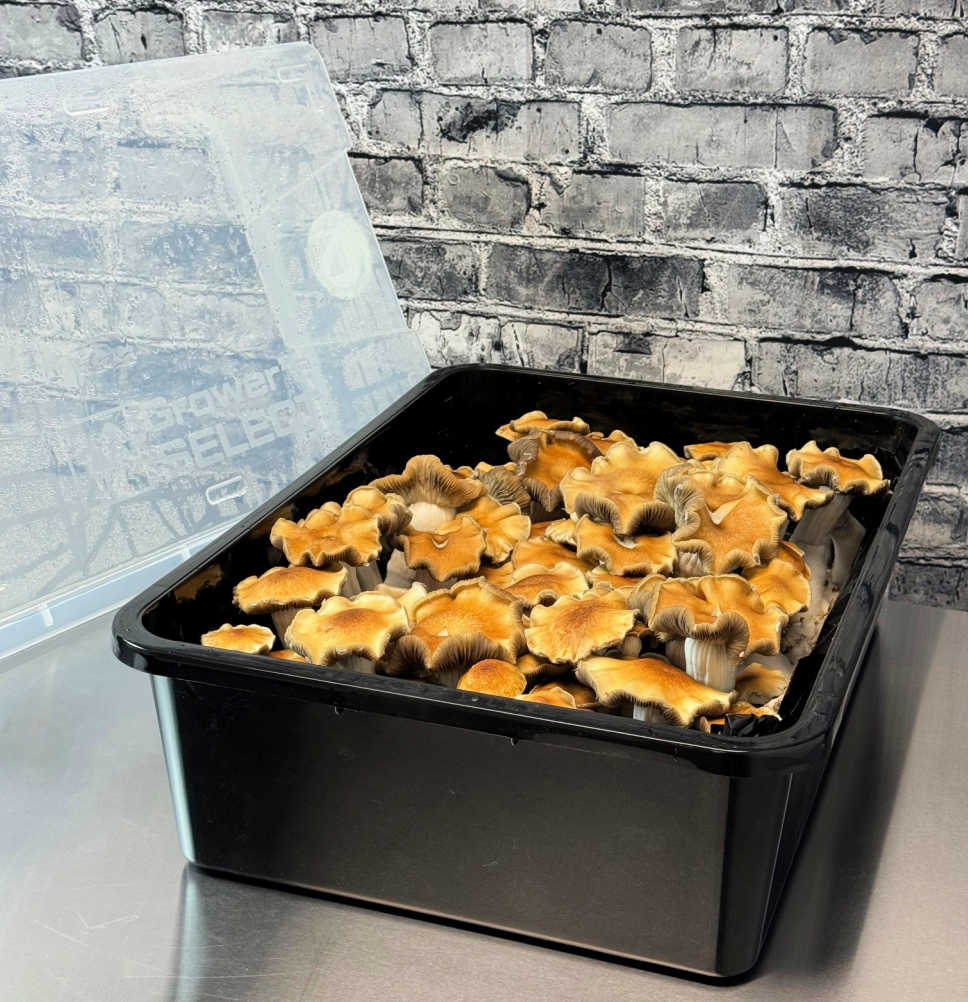
And there you have it! At the time of writing this, and where I am located currently, the grand total of this guide is $138. That’s a pretty solid price to have ounces, even pounds of beautiful, freshly harvested product. Enjoy 🙂
Feel free to reach out in the comments or contact our email with any questions, I’m always happy to help!
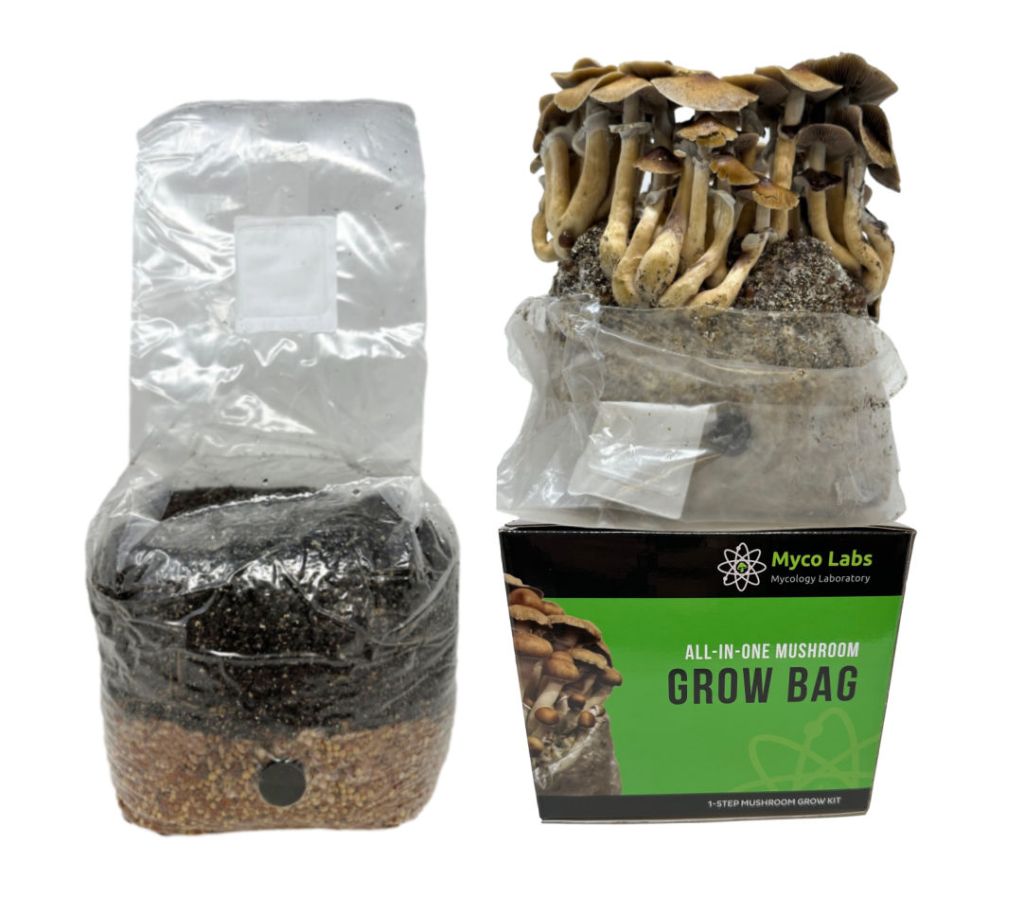
*Note: These All-in-One (AIO) Bags would be an even easier method than what I listed above, essentially combining the substrate and grain into one big bag. You would inject this bag and just wait, basically. I have seen little success with this method, others have had great harvests. If you’ve got the money to spare, can’t hurt to try, right?
*Another Note: Cheaper methods do exist, you could make your own substrate and grain spawn at home for even cheaper, it just requires more learning and some additional equipment. If you’re a beginner who feels intimidated by the process, just stick to the premade basics!