Tag: midwestgrowkits

  • Growing Pink Oyster Mushrooms At Home

    I’ve wanted to try growing my own edible mushrooms for a while now, so I bought this mushroom grow kit from MidwestGrowKits.com! It only took a few weeks, and it was a very fun experience.

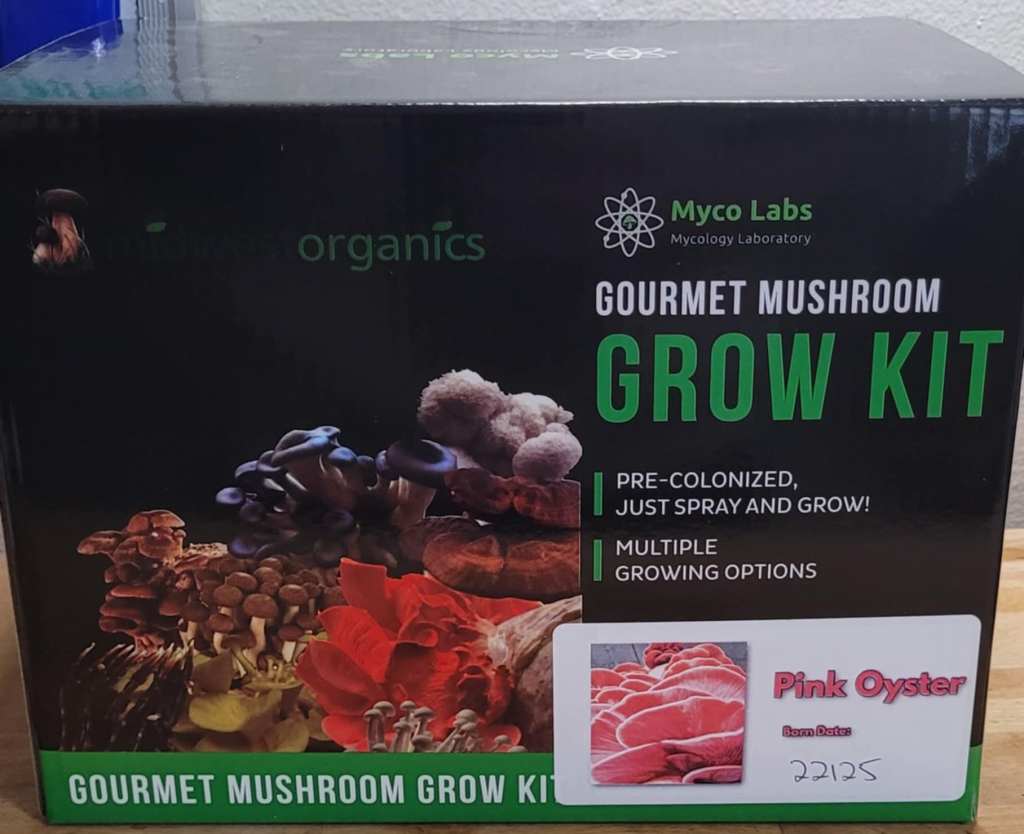
    As an added benefit, I got to try Pink Oyster mushrooms (For the first time!) on a delicious breakfast sandwich. This was definitely a big win in my book!

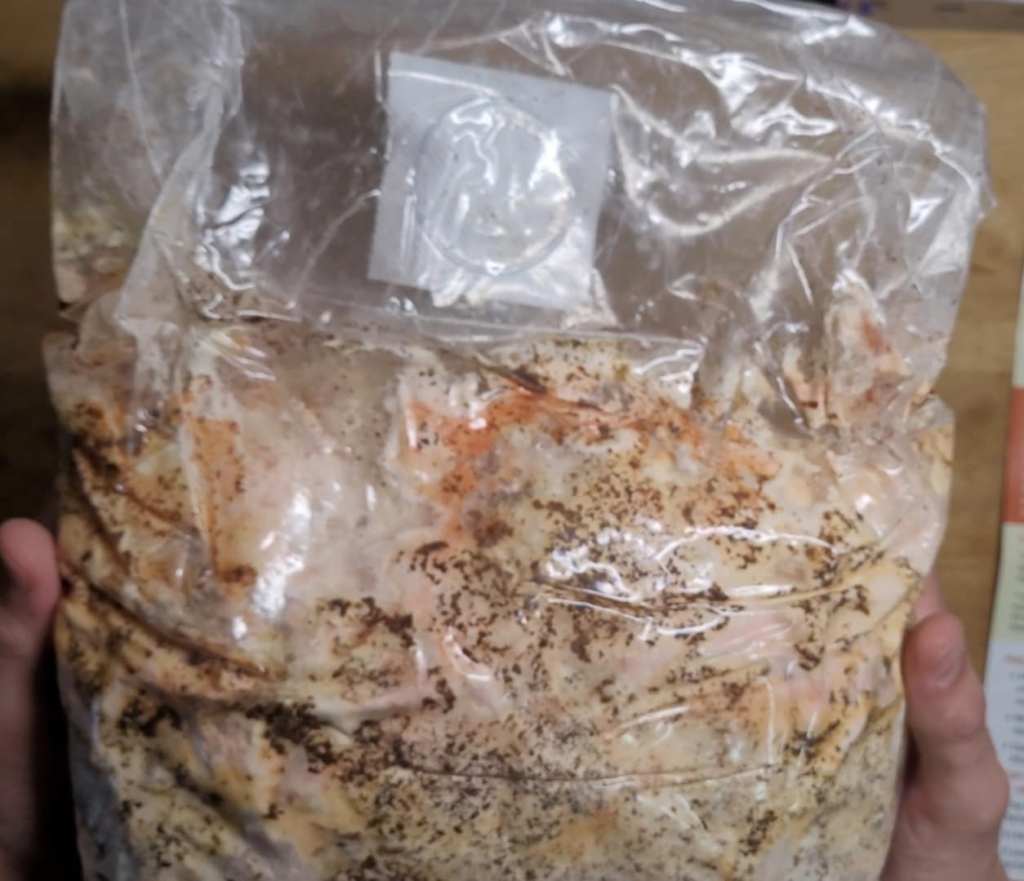
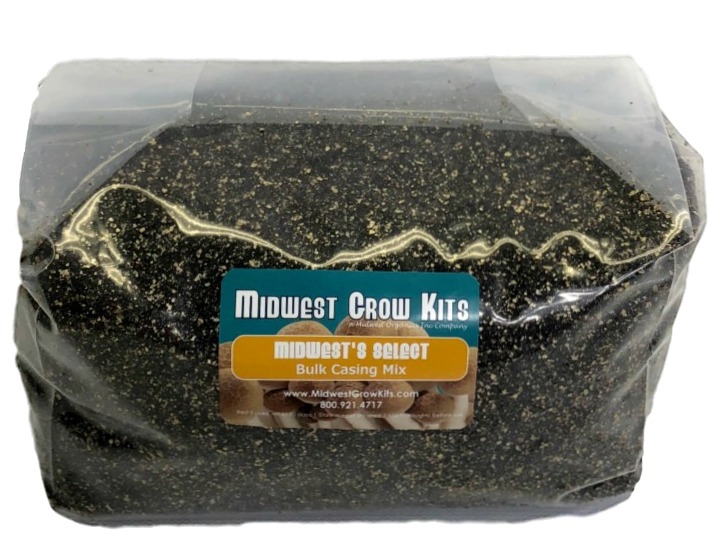
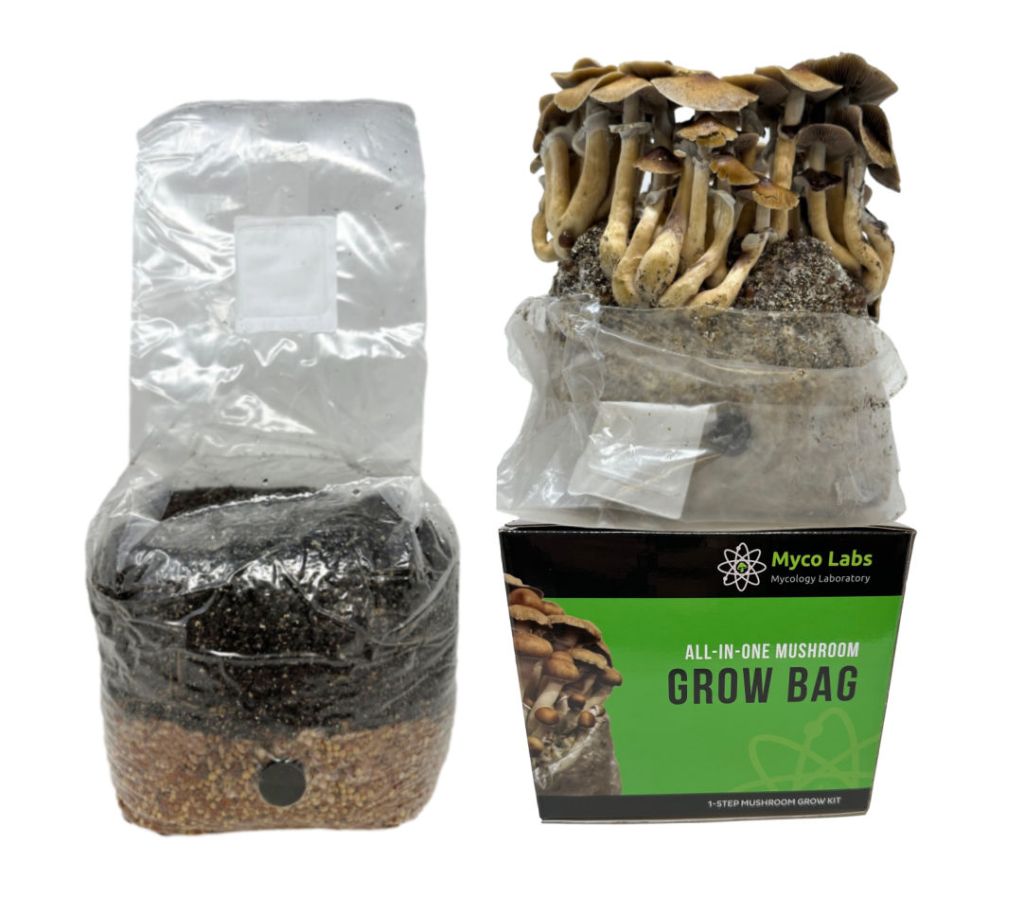
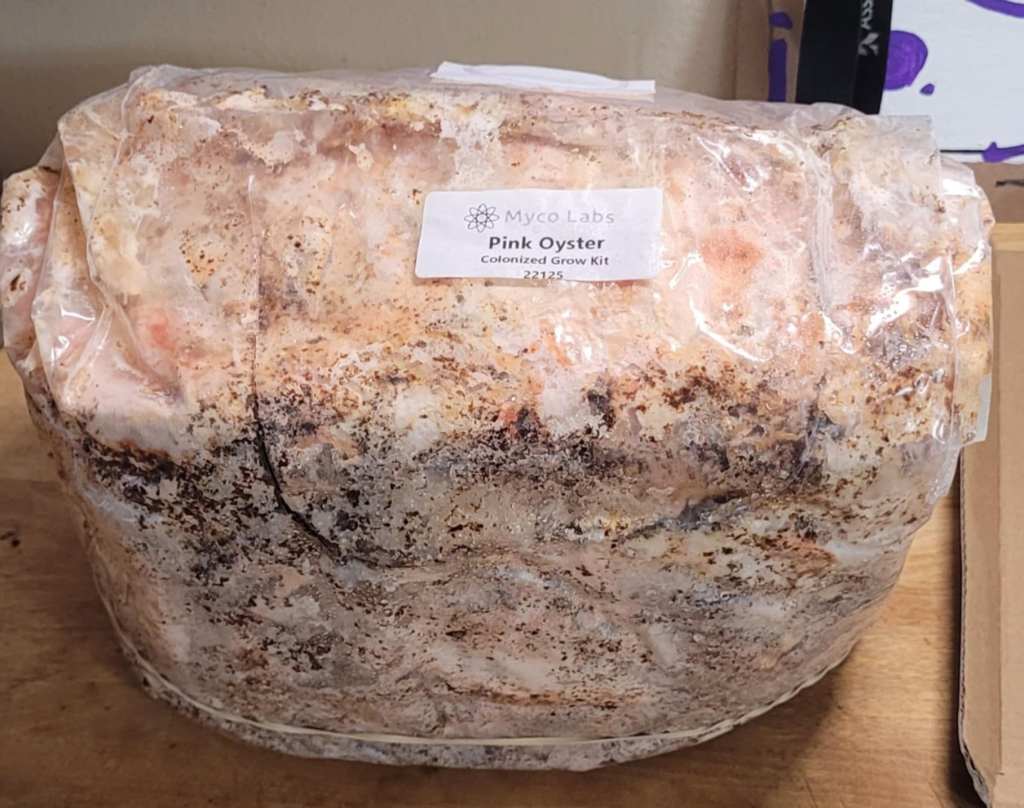
    It came in a plastic wrapped block with some directions, so I just sliced open the bag to introduce some air and kick it into fruiting, and misted the bag and box heavily. You want to make sure the mushrooms have plenty of water to drink, to grow big and strong!

    Mushrooms are kind of like us. They have all the food they need inside this bag, so we just need to make sure they have the right amount of air and water to grow to adulthood.

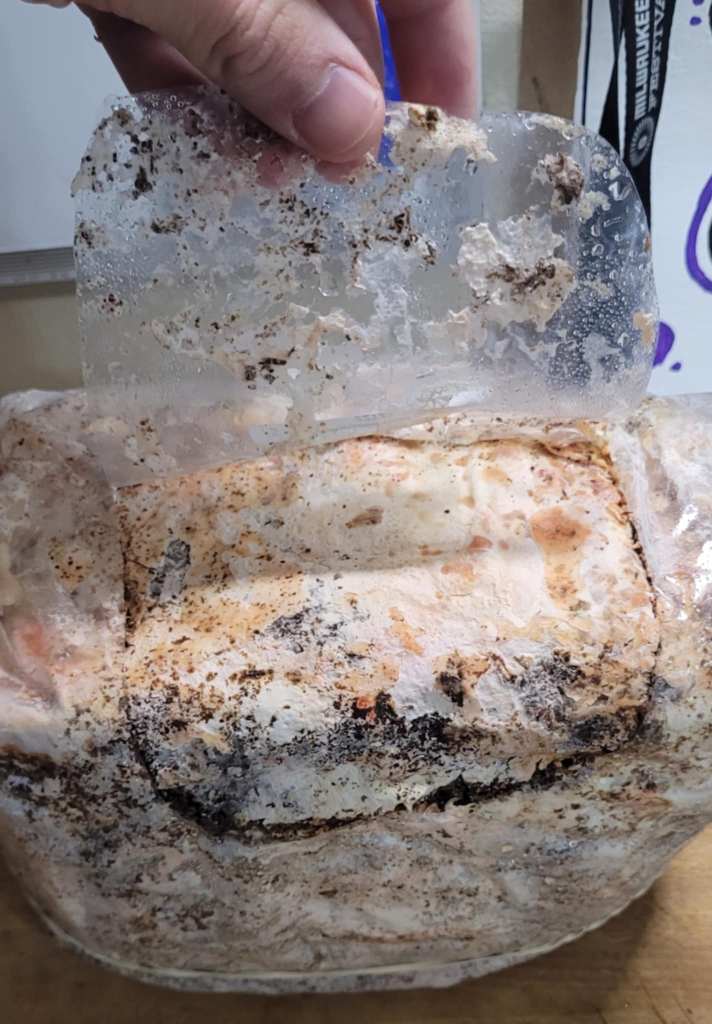
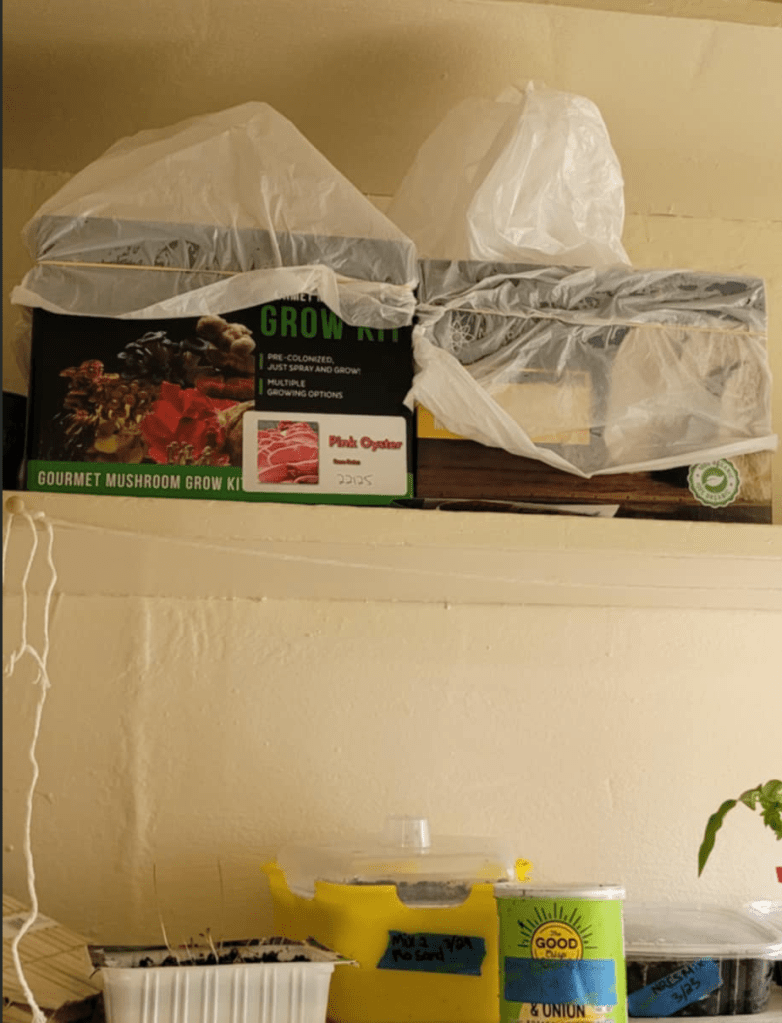
    After this, I just put it back in its box, kept it wet, and put it up in my closet. I also made a “humidity dome” out of a plastic bag with holes poked in it, to ensure it didn’t dry out too quickly, but still had air to breathe.

    A few days later, I came back to check on it and found these little guys growing!

    Another few days;

    I accidentally let them get a bit too dry, they could look better. I made sure to keep up more with misting, and here’s how they bounced back:

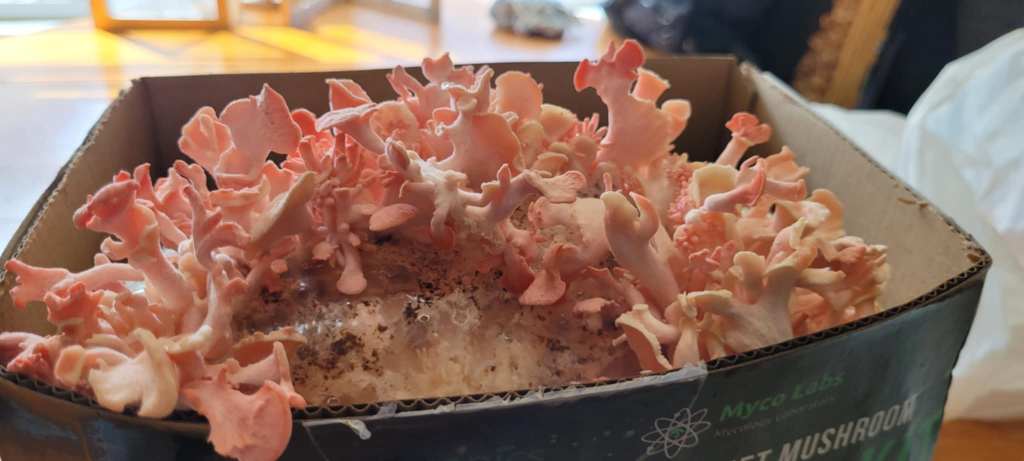
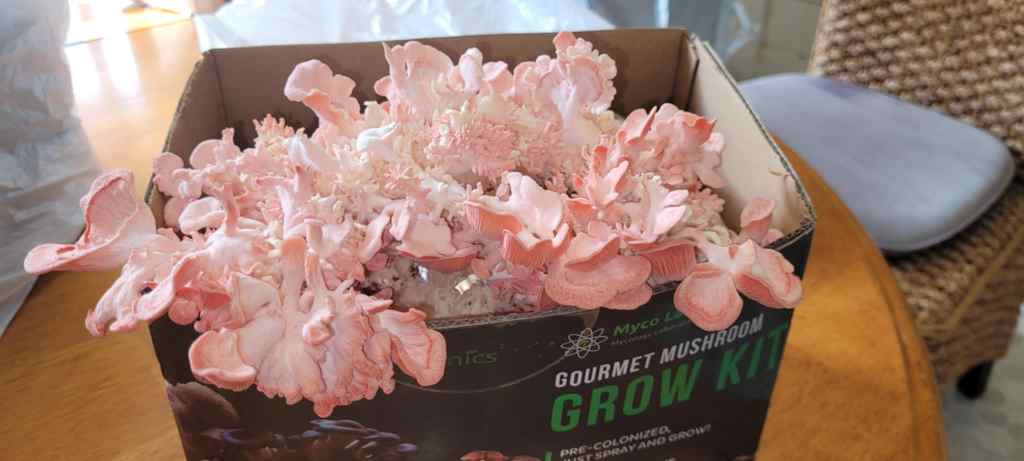
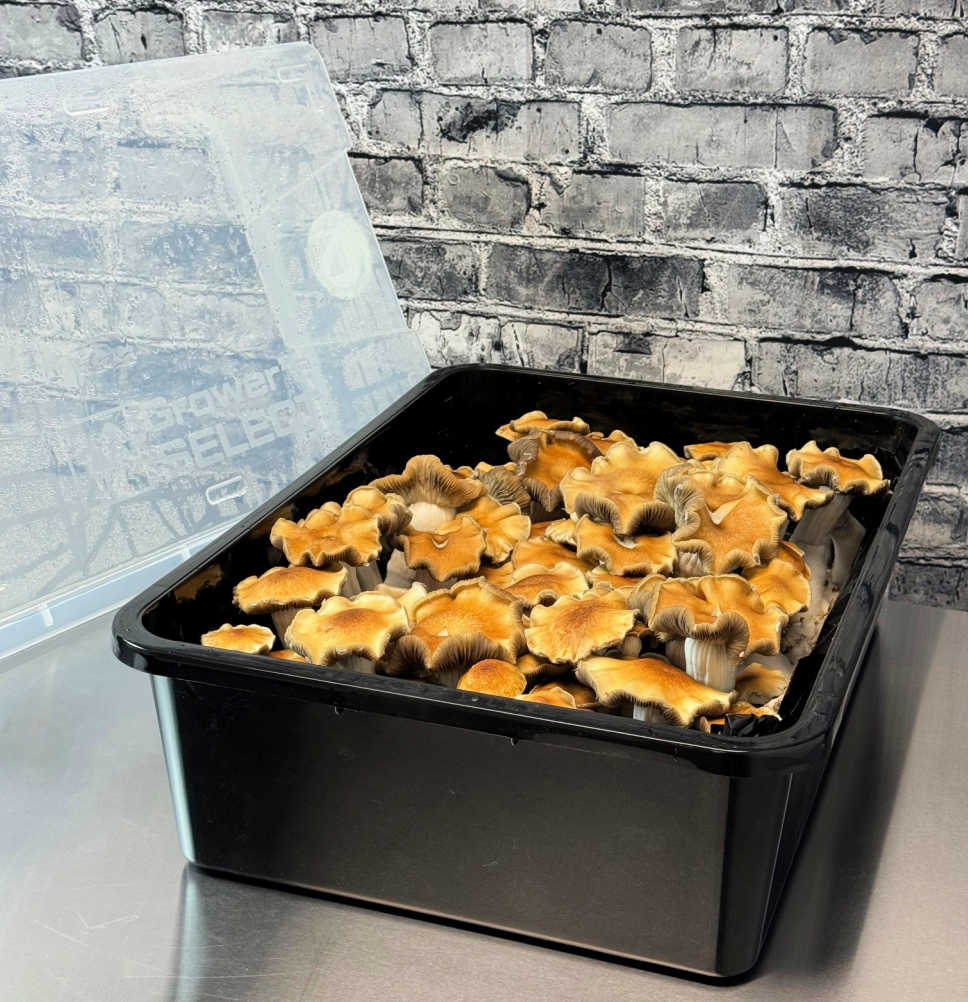
    They came back completely! Once they looked a bit more like this;

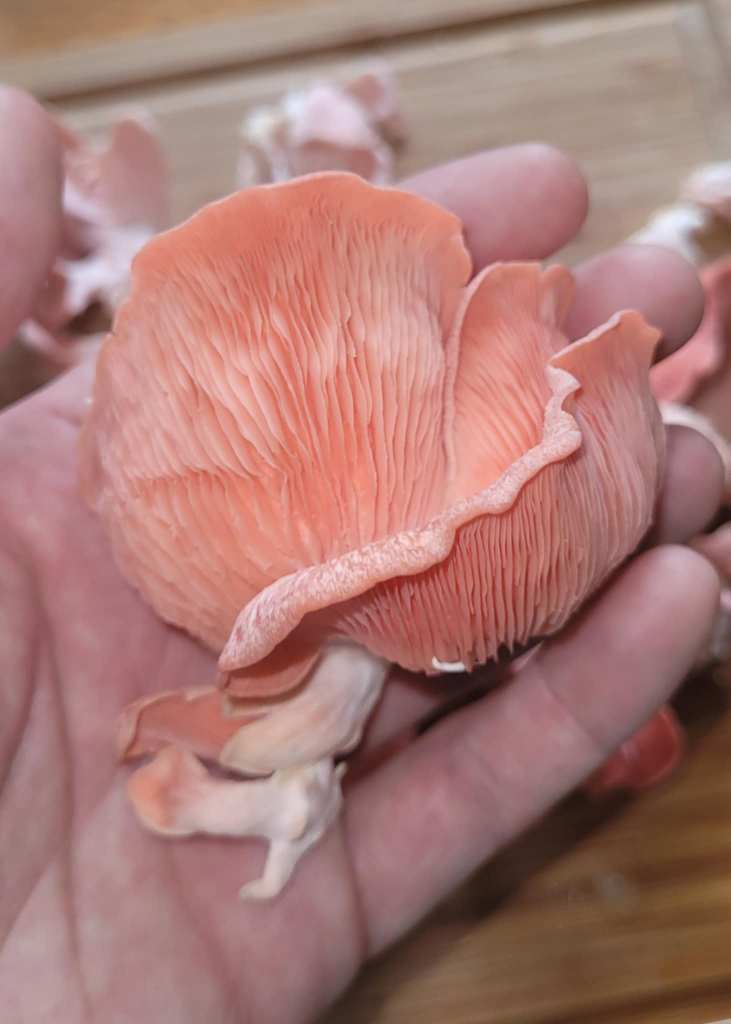
    I finally felt it was time to harvest them. They remind me of little roses!

    I picked them off the block early in the morning, and wound up with almost exactly a quarter pound of fresh Pink Oyster Mushrooms, for a total of $20. Plus I had a blast learning and watching them grow!

    I will totally do this again. Until then, here are the 2 meals we made using our beautiful mushrooms πŸ™‚

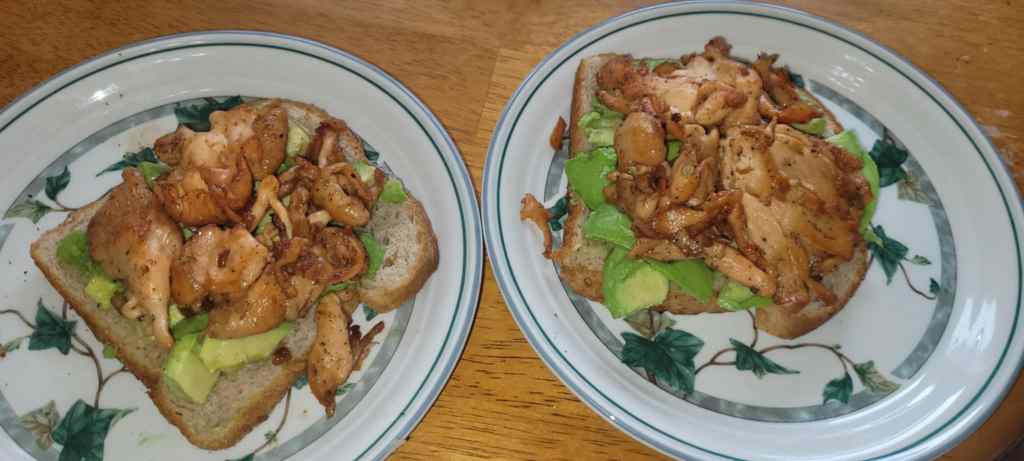
    We just seasoned them with salt, pepper and garlic, and threw them on some bread with avocado. It was great!

    I hope this encourages someone to start their own gourmet grow! It’s incredibly simple, affordable and fun. Shout out to Midwest Grow Kits!

  • Growing Pink Oyster Mushrooms At Home: A Daily Grow-Blog

    4/3/2025 – Day One

    Today, I received my Pink Oyster Grow Kit from Midwest Grow Kits. These little guys grow fast, look beautiful, and taste delicious. I’m going to update this blog daily, documenting my progress with this grow kit from start to finish. Stick around and let’s see what happens! πŸ„

    This is what comes in the box, along with a flyer containing instructions. It lists 2 different ways that we can grow this out, I’m going with the easier option.

    Here’s how the bag looks right out of the box. The bag is completely sealed, except for the white filter at the top, which allows for fresh air exchange. The block inside the bag would have started out brown, but now that it’s fully colonized with mycelium, it’s fully coated in white. There are some orange spots near the top as well, and that’s okay! It’s just a natural growth hormone, produced by the mycelium when it’s ready for mushroom production! It’s a great sign.

    Now, I need to give it air in order to trigger mushroom production. To do this, I’m going to cut a large U-shaped flap in the front of the bag, like so:

    It needs to be kept in a decently moist environment to really thrive. To do this, I’m going to use the provided water mister to spray the whole bag, and the entire box that the bag came in. Then I will put the whole bag back in the box.

    Finally, I’ll take a regular sized plastic bag, spray the inside of it, and put it on top of the entire box, in order to create a humidity-retaining dome. Here’s how it looks now:

    And that’s it! I’ll leave it in a spot in my kitchen that gets indirect sunlight, and within 7-10 days, fresh mushrooms should emerge.

    I’ll be back to update again soon!

  • The Easiest, Simplest Shroom Growing Starter Kit

    Disclaimer: This page is not meant to be a full-on guide to growing anything. This page is meant to simplify the process, eliminating as much of the guess work and research for your initial setup as I can. This guide relies on the most affordable mycology supply website I’ve found, Midwest Grow Kits.

    This guide is written for people who are following this detailed shroom-growing guide found on the subreddit, r/unclebens, except we’ll just use premade grain jars instead of Uncle Bens rice bags, to make it even simpler. The r/unclebens guide is the best guide I’ve come across, so it is still a perfect reference.

    I created this page because when I first read through that guide, it was SO incredibly detailed, that the whole process seemed more complicated than it actually is.

    Here is a simplified list of Everything you will need for the process, along with direct links to the products themselves, organized by source.

    Isolated Spore Syringe (of your choosing) from InoculateTheWorld. – The start of it all, in an easy-to-inject syringe. For best results, use Liquid Culture syringes. This specific website refers to Liquid Culture as Isolated Spore, so you’re all good!

    70% Isopropyl Alcohol from Amazon – Spray on and wipe everything involved, including your gloves. Cleanliness here is possibly the most important factor in making it to harvest.

    Disposable Gloves from Amazon – Again, cleanliness is important. You will want to wear these for every step.

    3x 24oz Grain Jars from Midwest Grow Kits – Inject each jar with 2-3cc of the spore syringe. These jars have higher chances of success than rice bags do, and less variables such as moisture content. Flame sterilize your needle with a lighter before each injection for best chances of successful colonization.

    Premade Substrate from Midwest Grow Kits – Once your grain jars are fully colonized and white, mix one jar with an equal amount of this dirt-like substance in a 6qt shoebox container.

    6qt ‘Shoebox’ Containers from Amazon – (It’d be better to buy 3 at a cheap store in real life. You can get 3 for $3. This link is just the best deal amazon had.)the perfect size for your mushroom-growing environment, to ensure you can keep the humidity levels just right. Sounds complicated, but comes easily with experience. (and following the guide on r/unclebens)

    (Alternative container) 54qt Monotub from MidwestGrowKits – Some choose to make one big container rather than 3. I recommend 3 for beginners, but its personal preference ultimately.

    Fine Water Mister from Amazon – Helpful for when your substrate dries out a bit. Water drops hitting the mushrooms can harm your process, finer water droplets are safer.

    Mushroom Dehydrator from Midwest Grow Kits – Every day, a new grower thinks they can dry their harvested shrooms in an oven, or an air-fryer. Sometimes this works, sometimes it burns their entire stash, leaving them with nothing to show for all their time, money and effort! Better safe than sorry, the way I see it. (Side note, I was using a dehydrator from amazon, but found this one to be much better due to it being custom built for this purpose.)

    Dessicant Packets from Amazon – Throw your harvest shrooms in a jar and put a couple of these in there with them, to ensure they stay dry for years to come.

    Digital Scale from Amazon – For weighing out your doses once you have dried your harvest. Very important to your experience, mushrooms can vary greatly in weight, leaving you with wildly different experiences, if you dose without a scale!

    And there you have it! At the time of writing this, and where I am located currently, the grand total of this guide is $138. That’s a pretty solid price to have ounces, even pounds of beautiful, freshly harvested product. Enjoy πŸ™‚

    Feel free to reach out in the comments or contact our email with any questions, I’m always happy to help!

    *Note: These All-in-One (AIO) Bags would be an even easier method than what I listed above, essentially combining the substrate and grain into one big bag. You would inject this bag and just wait, basically. I have seen little success with this method, others have had great harvests. If you’ve got the money to spare, can’t hurt to try, right?

    *Another Note: Cheaper methods do exist, you could make your own substrate and grain spawn at home for even cheaper, it just requires more learning and some additional equipment. If you’re a beginner who feels intimidated by the process, just stick to the premade basics!